
Last year I made a post about Easter (Påsk) traditions in Sweden, and this year I am sharing something that has always meant Easter to me. When I was growing up, my mother made panoramic sugar eggs every year (actually, she is still making them and has made 7 dozen this year!). They varied in size from one inch (2.5cm) in length to the size of an American football. Last year was the first time I attempted to make them with my kids and it was a blast from the past. The pictures I posted on my personal facebook page gleaned all kinds of comments from childhood and family friends who remembered receiving one of these special gifts at Easter time. Some people had even saved them for all of these years (I have some from 1985). It was a lovely tribute to my mother who is an incredibly talented and giving person. I recently shared her frosting recipes, including her royal icing that is used to decorate these eggs, and now I am sharing the steps to construct them.
If you have some basic cake decorating skills, these eggs are not so difficult to manage, but they do take time. This year I completed a 2 day sugar egg marathon with my girls to make 2 large, and 18 small eggs. There is still time to make some before Easter, even if you are planning to make 18, but start as soon as possible with the sugar shell. In my opinion, that is the tedious part.
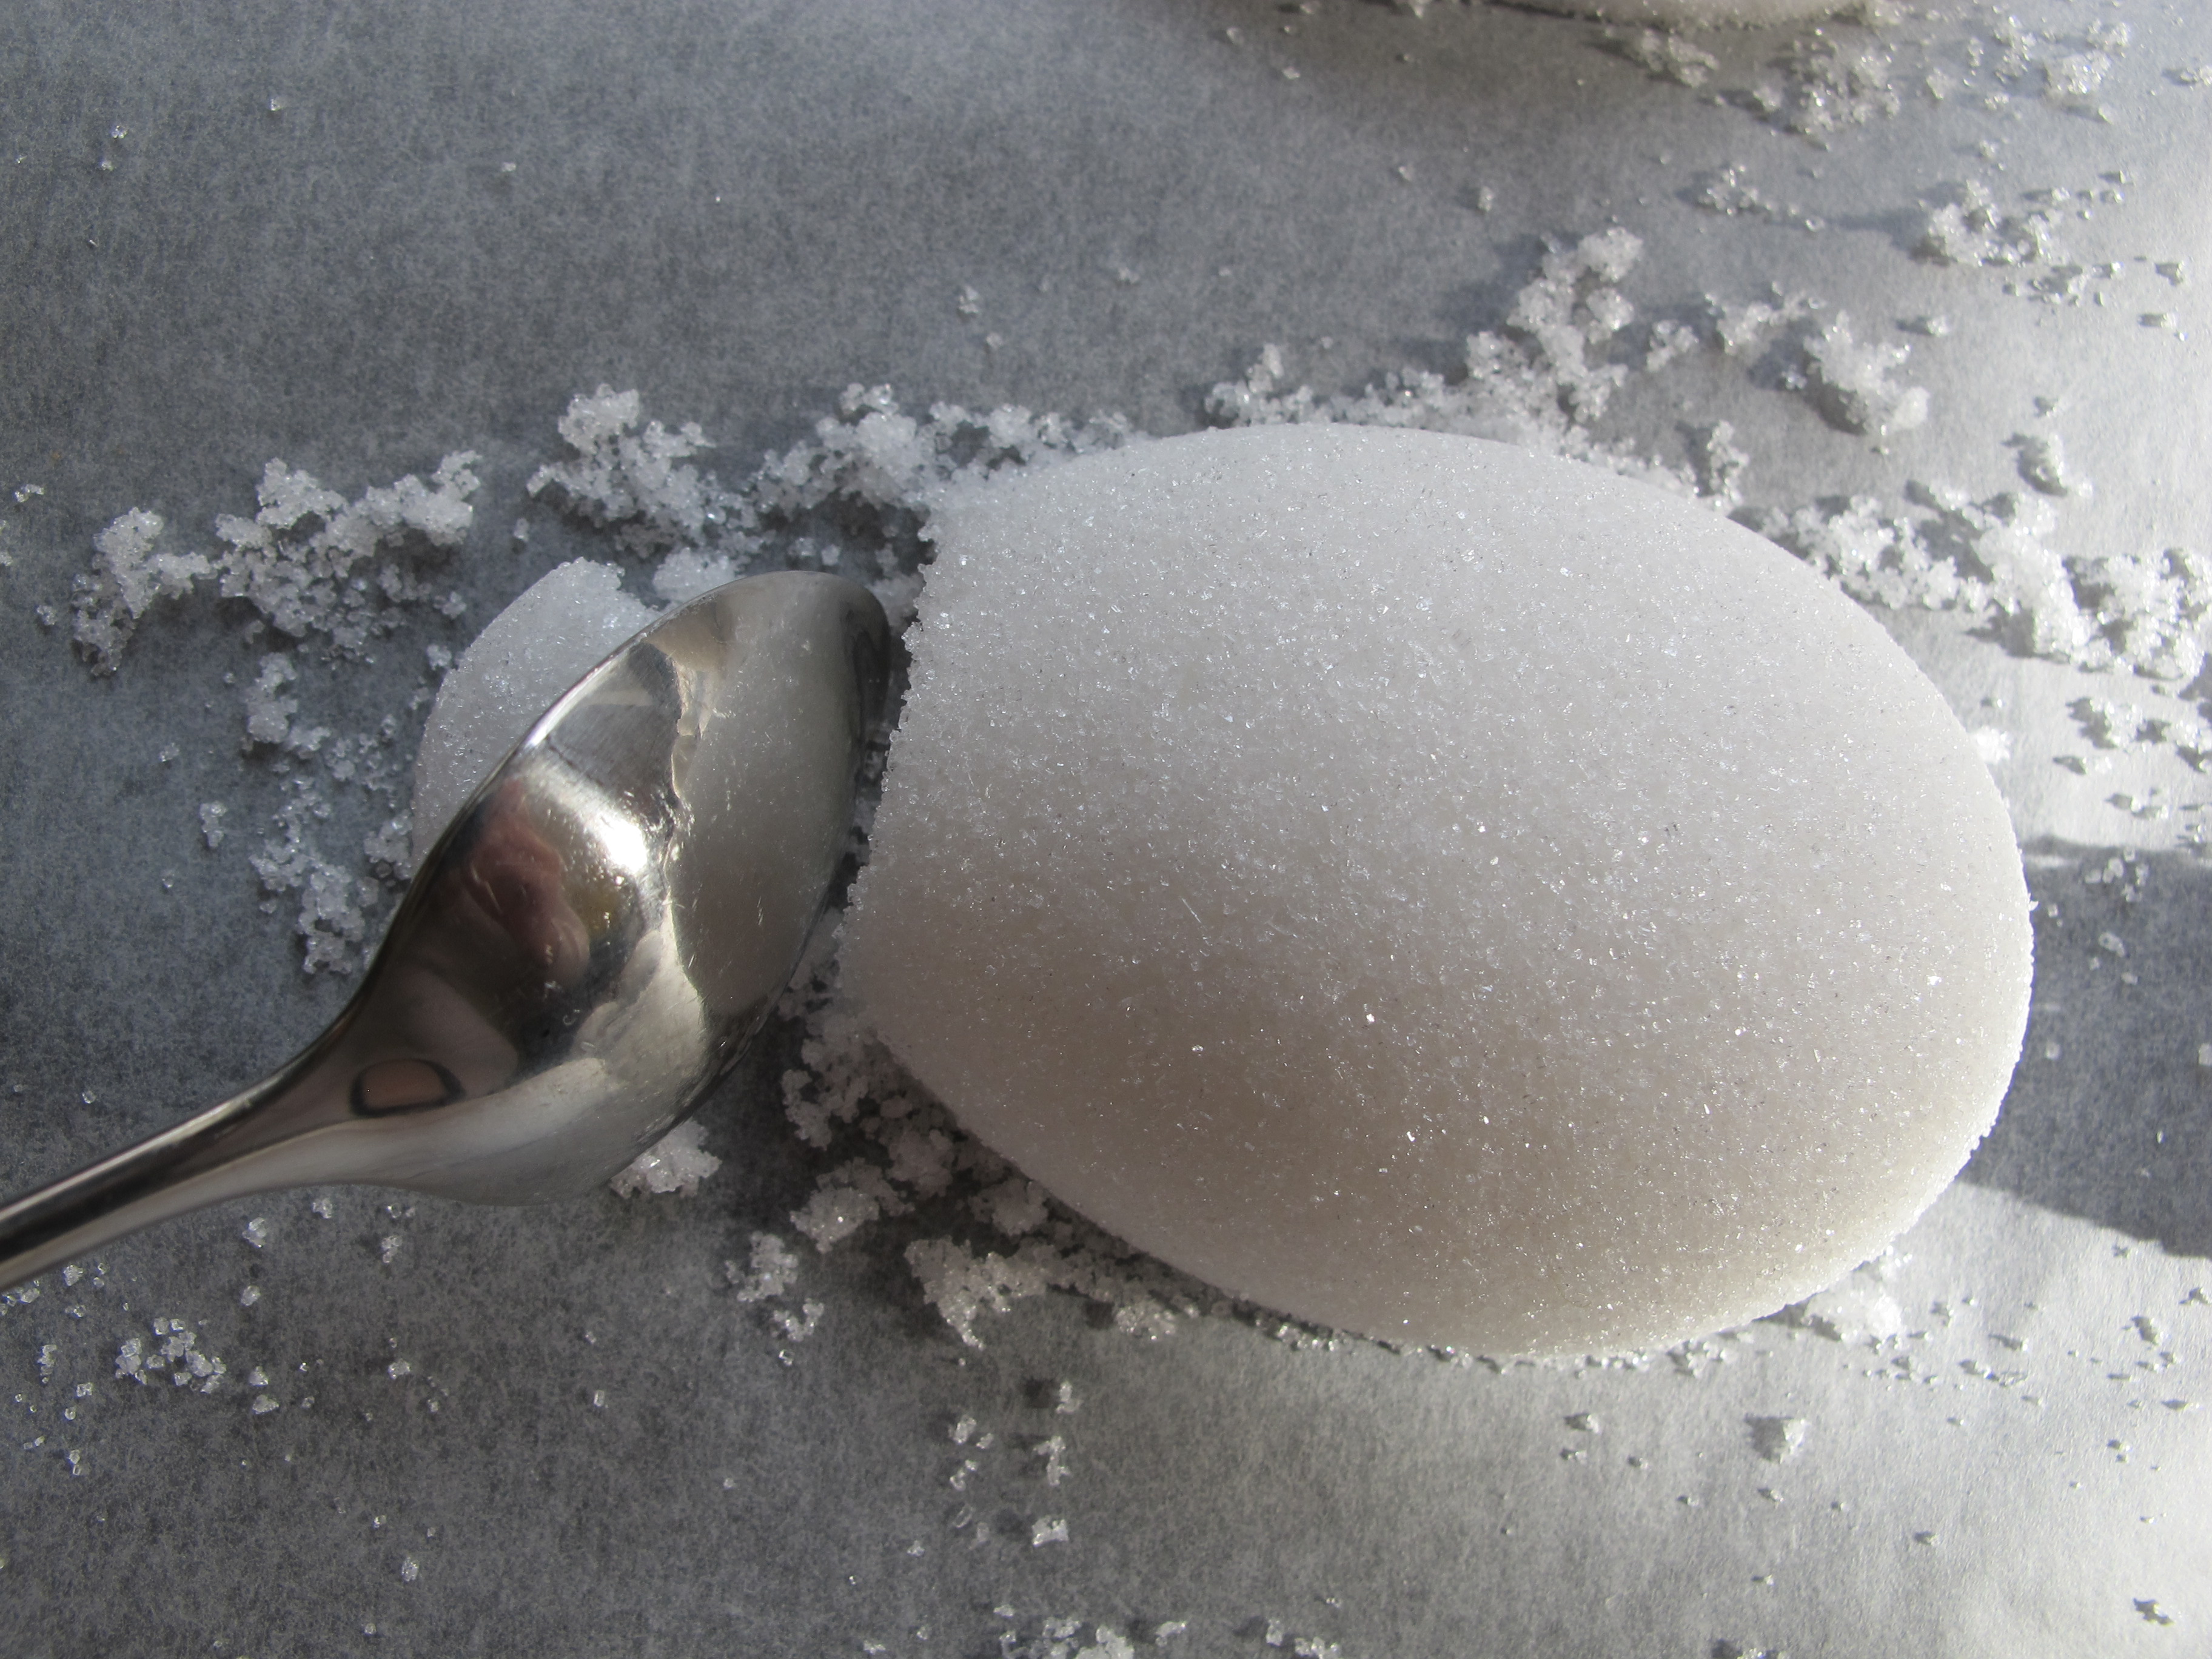
First, you need to ensure that you have a mold for the eggs. Wilton used to make molds and I have a small one from my mother that is pictured below. This year I tried making a larger size utilizing a plastic Hello Kitty egg I bought in the store. It worked to make the large egg although it was definitely harder to do since the plastic is more flexible than the Wilton mold (plus it is bigger), but after breaking the bottom once for each egg I made, I was finally successful in the end.

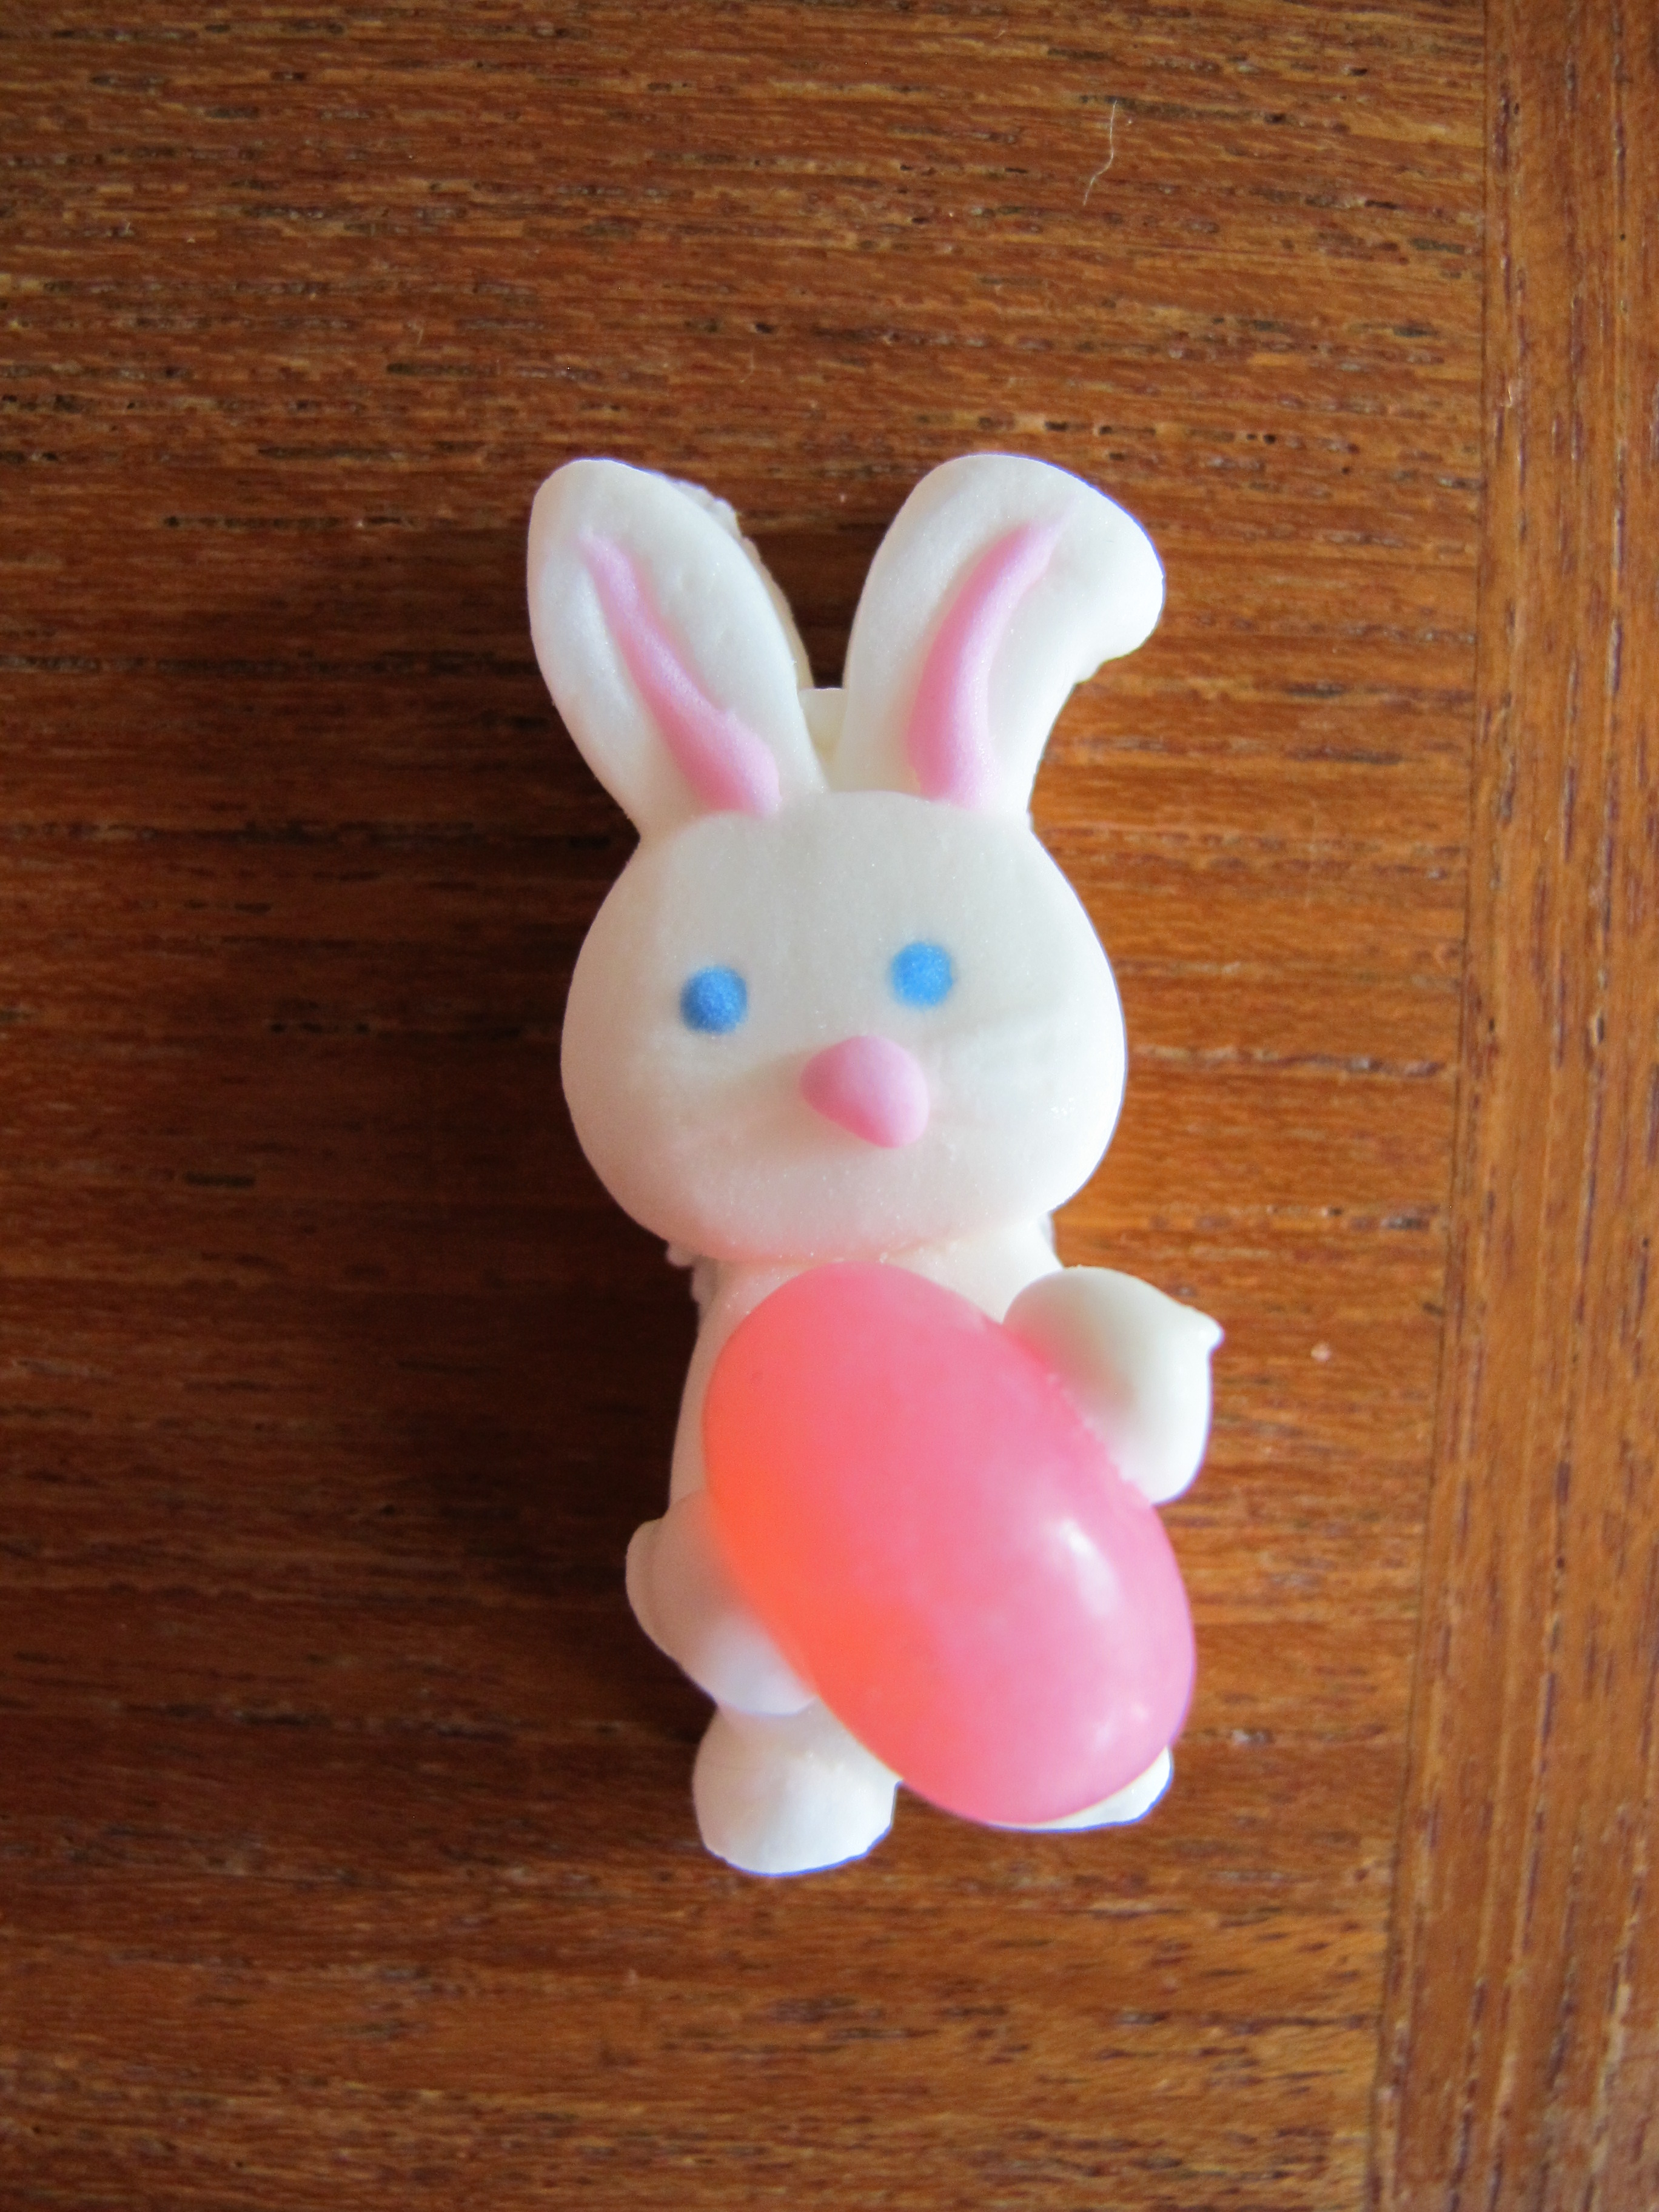
Once you have a mold, you need to decide what will go inside the egg. My mother used to use little porcelain figures but those have proven hard to come by these days, and even small plastic or resin miniatures are hard to find now. The white rabbit above is from a Wilton set of about 12 frosting bunnies holding different colors of jelly bean eggs. If you can’t buy anything small to tuck inside, you can always make something on your own using the royal icing recipe. This year I made some chicks that were kind of a cross between chicks and birds, but they got the Easter spirit across. I also made some pink bunnies that looked like skinned rabbits to me, but my kids liked them and they turned out to look ok on the top of the egg that my 3 1/2 year-old decorated.


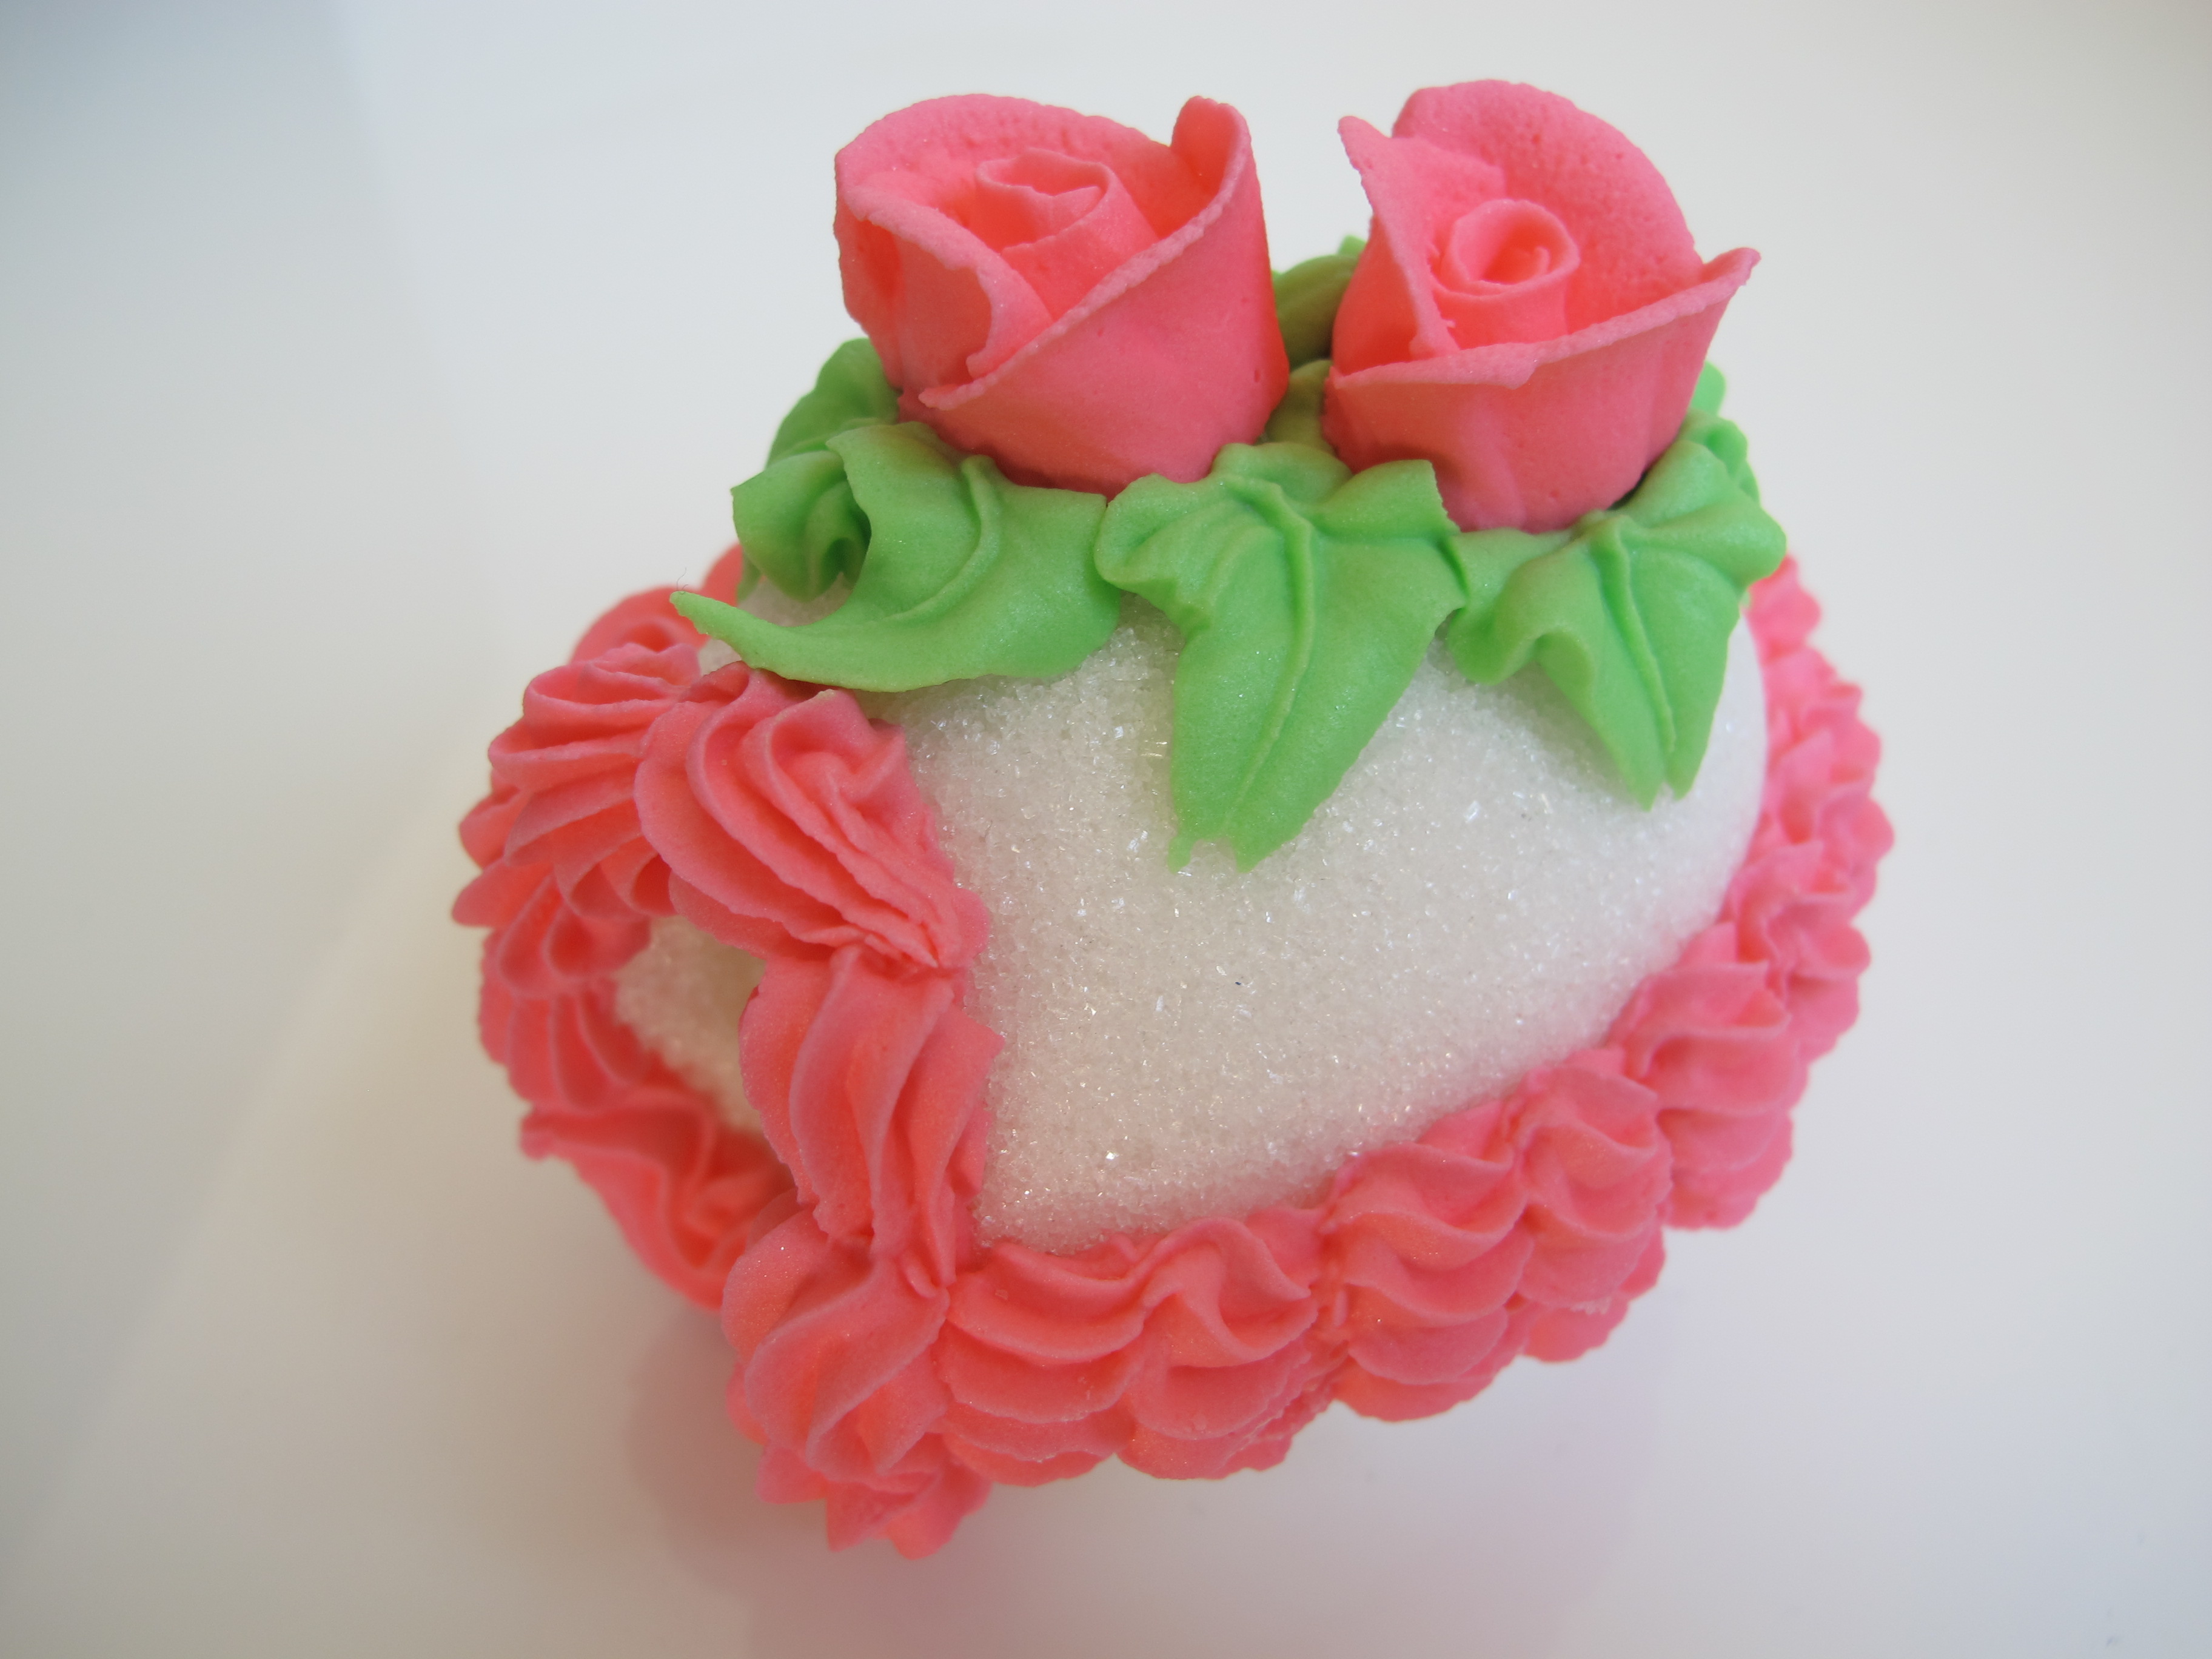
Frosting roses or other flowers are classic for the top with green leaves. I had some little carrots that were purchased, but would be easy to make, and jelly beans make perfect eggs for the inside. There are video tutorials on the web that show how to make frosting roses, or if you are a beginning decorator, you can make simpler flowers and find examples on the Wilton.com site. If you are handy with candy making, you could probably buy some molds and make tiny chicks, lambs, and bunnies utilizing candy melts.


Once you have the molds and the items for the inside, it’s time to make the actual sugar shell. How many eggs you can get will depend on the size of the mold you use, and how many of them break during the process. All you need is sugar and water to make the actual egg. A general rule is about 1 teaspoon of water to each cup (200g) of sugar. With 2 pounds of sugar (1000g) I made one large egg and five small ones. It doesn’t matter whether it is cane or beet sugar. Basically the consistency should be like wet sand for a sand castle. Add more water if it’s too dry, and more sugar if it’s too wet. You can potentially color the sugar, but my mother still laments the year she did that since the colored sugar didn’t allow enough light into the egg so you couldn’t really see the scene inside.


Once the sugar is the right consistency, pack it firmly into the mold, pressing as hard as you can to compact the sugar, then scrape the excess sugar from the bottom. The flat-side of a knife works well. Turn the mold over carefully, but quickly onto a baking tray lined with parchment or waxed paper. Remove the mold and immediately use a small spoon to scoop away the tip which will become the peep-hole. Don’t forget to do this step or you won’t have a way to see into the egg. The small egg mold I used is just over 3 inches (77mm) and should be left to dry for about 30 minutes before proceeding. Depending on how many eggs you make, by the time you finish the last mold, you may be able to start scooping out your first egg. The large, Hello Kitty egg mold is 7 inches (180mm) and those took about 2 hours to dry before I could pick them up. If you notice any cracks in the eggs when you take it out of the mold, just scoop the sugar back into the mold or bowl and start over to reduce the chance of it breaking at a later stage.

Once the eggs have dried enough so you can handle them, pick one of the halves up and gently scrape out the wet sugar from the inside, leaving about 1/4 inch (5mm) of thickness for the shell. Wet sugar scraped from the inside can be used to make new eggs if you work quickly. After scraping out the wet sugar, gently tap out the peep-hole of the egg using a sharp knife. Be patient with this step. If you tap too hard, or at the wrong angle, you can easily break the sugar shell. You can gently scrape the opening with the knife to make it cleaner. The opening doesn’t need to be perfect as you can compensate for the shape when you pipe on the frosting border, but the peep-hole does need to be big enough so the scene inside is visible. Be sure not to tap the dry sugar from the opening into any of the moist sugar you have scooped out from the inside and are planning to reuse.


After all of the shells and peep holes are sculpted, it’s finally time to do some decorating, and this part will go comparatively quickly since all of the ground work is done. Use a star tip (I used Wilton 16) or grass tip to pipe green royal icing into the base of the shell. Place the items for your scene into the green frosting. Large eggs can have rather intricate scenes such as oval mirrors for ponds with ducks swimming on them, etc.

After the interior scenes are complete, pipe some white royal icing around the edge of the base, and carefully put on the top shell shifting it as necessary so the halves fit together snugly and form a smooth edge. Use enough royal icing so the halves will stick together, but not so much that the icing squeezes out of the seam and into the interior of the egg. Use your finger on the outside seam of the egg to smooth any royal icing that has squeezed out.

Pick the assembled egg up and using a star tip (I used Wilton 18) or shell tip, pipe the lower border around the egg, using the seam as a guide to keeping the border straight. Pipe the second row of the border on top of the first, ensuring it sits snugly on the lower border to eliminate gaps. Turn the egg so the peep-hole is facing you and pipe a border around the hole starting at the seam and working your way around. Use the frosting to your advantage in covering up irregularities in the peep-hole.

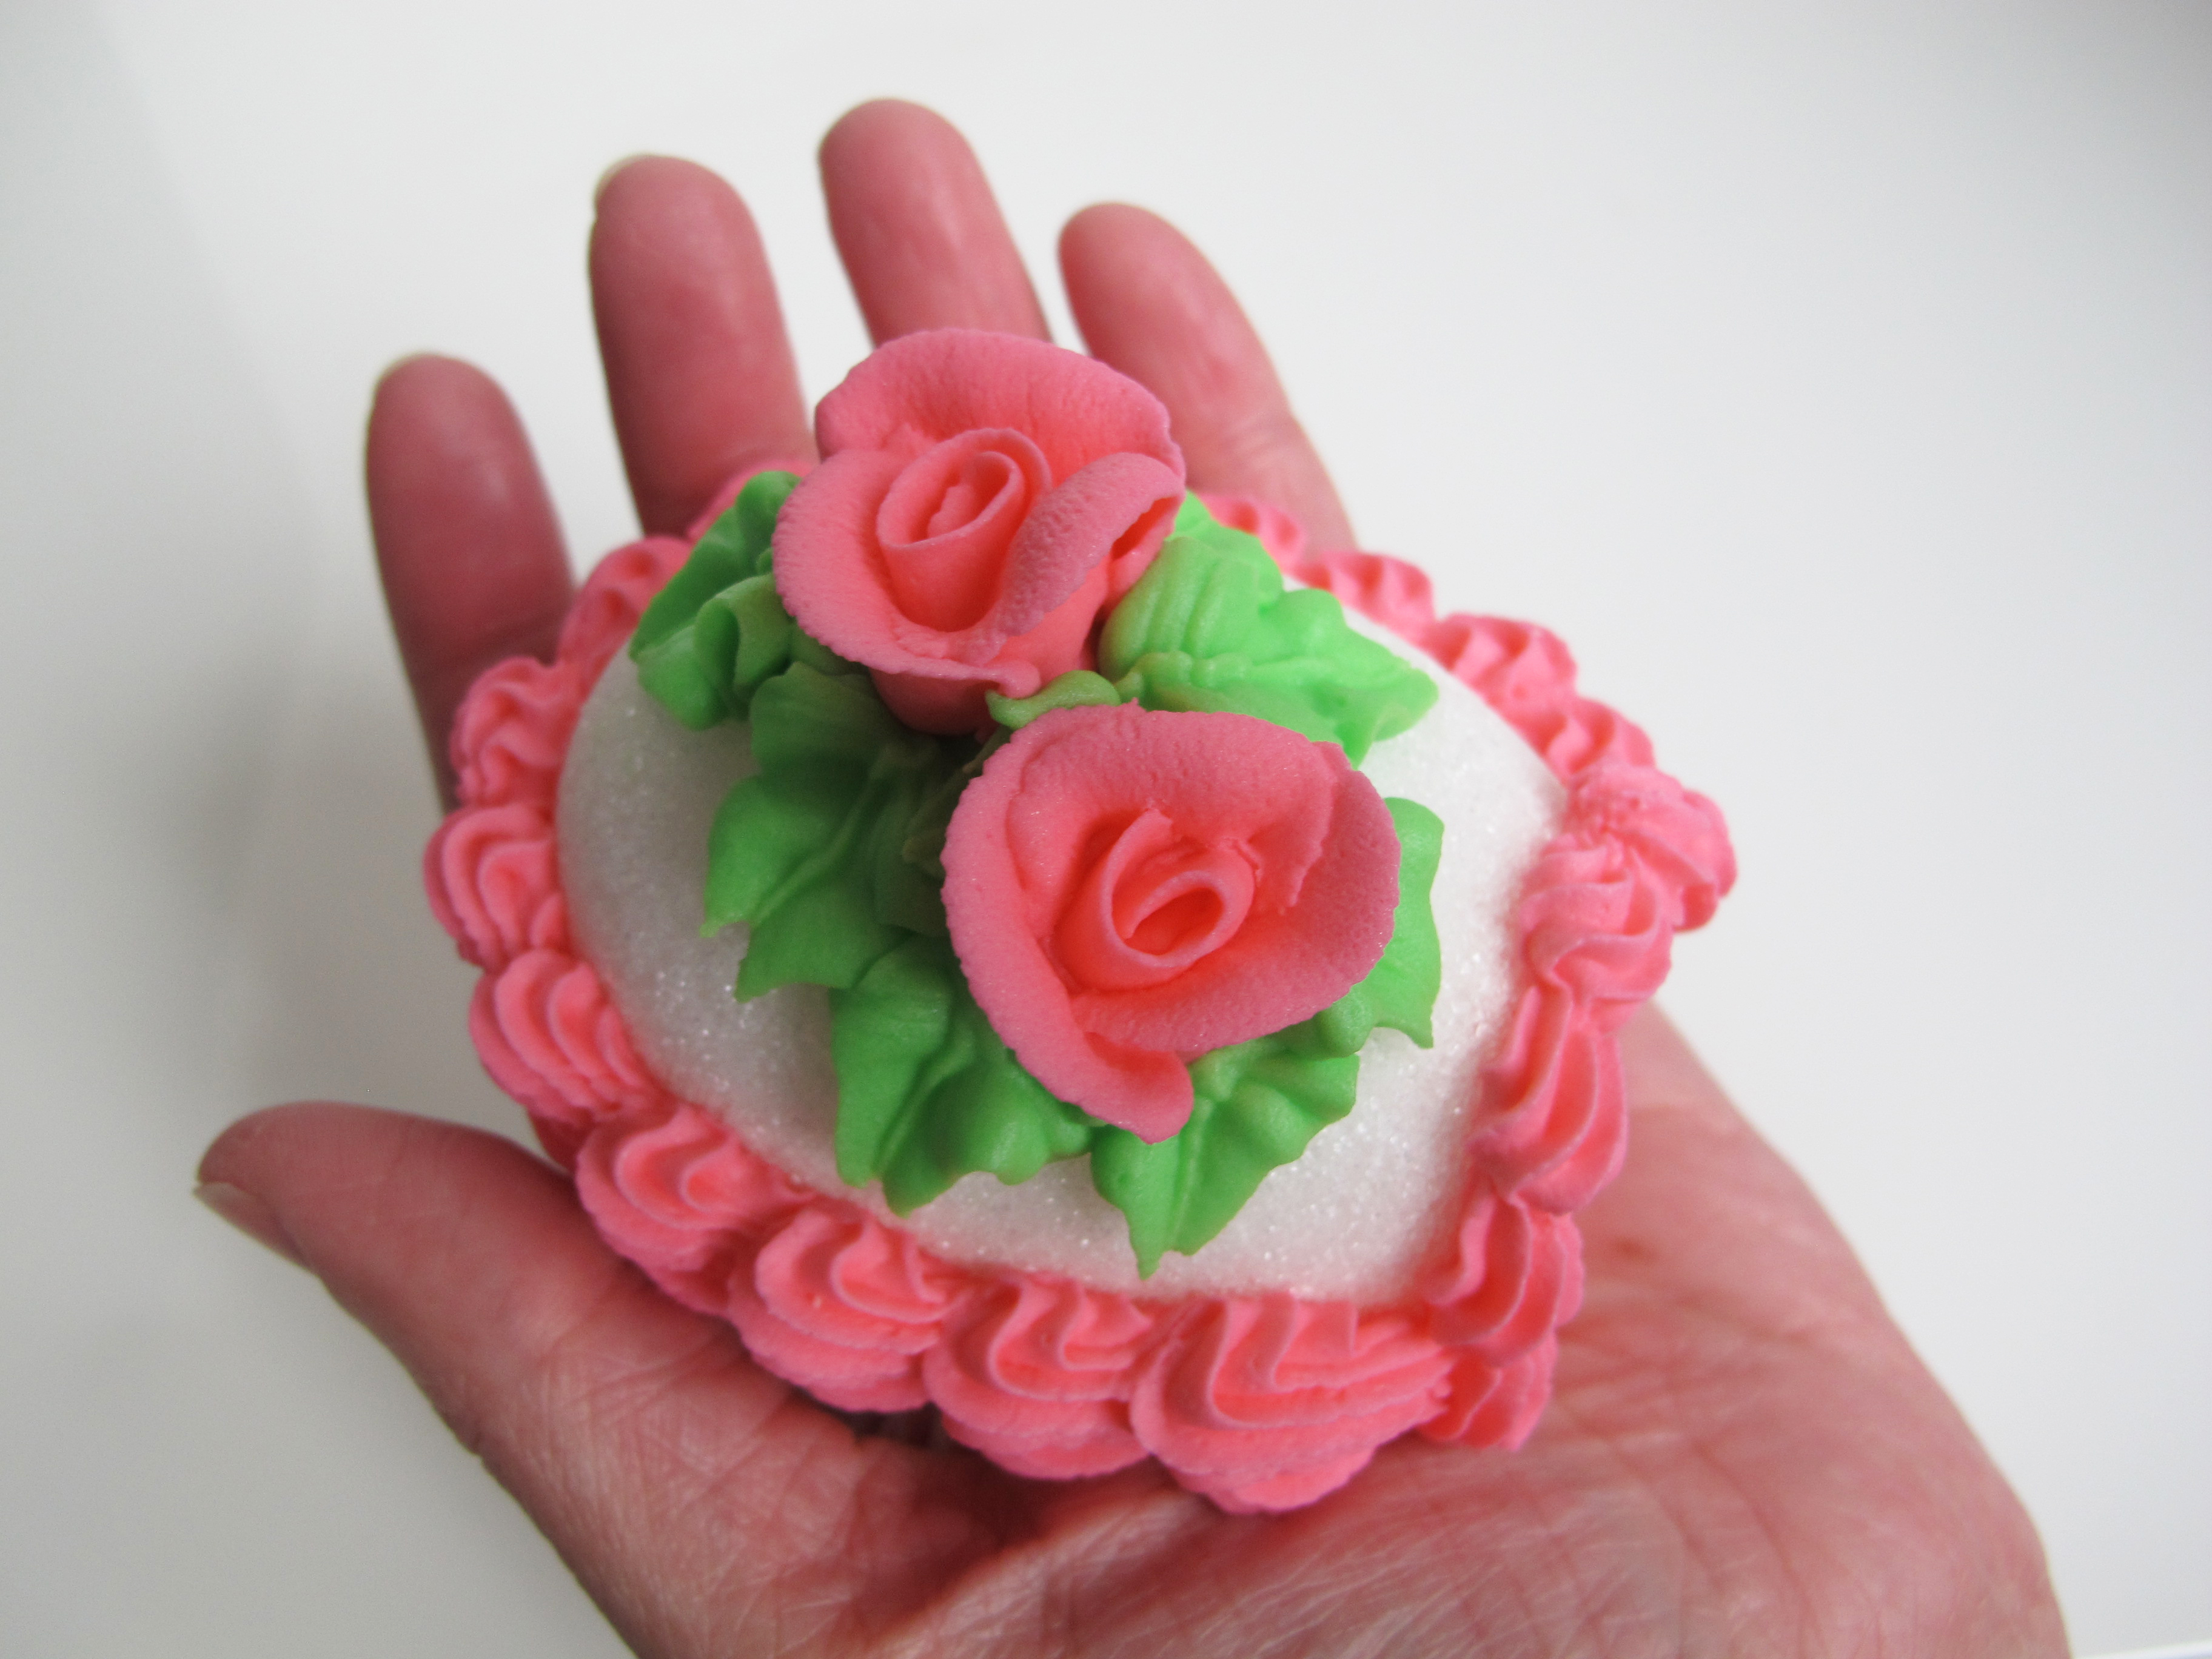
I usually do all of the borders before I continue with the final step of adding the flowers and leaves. It gives the borders a chance to dry a bit so they are more stable just in case they get bumped. For the final steps, use a dot of royal icing to affix the flowers to the top of the egg, and pipe on green royal icing leaves (I used Wilton tip 67).


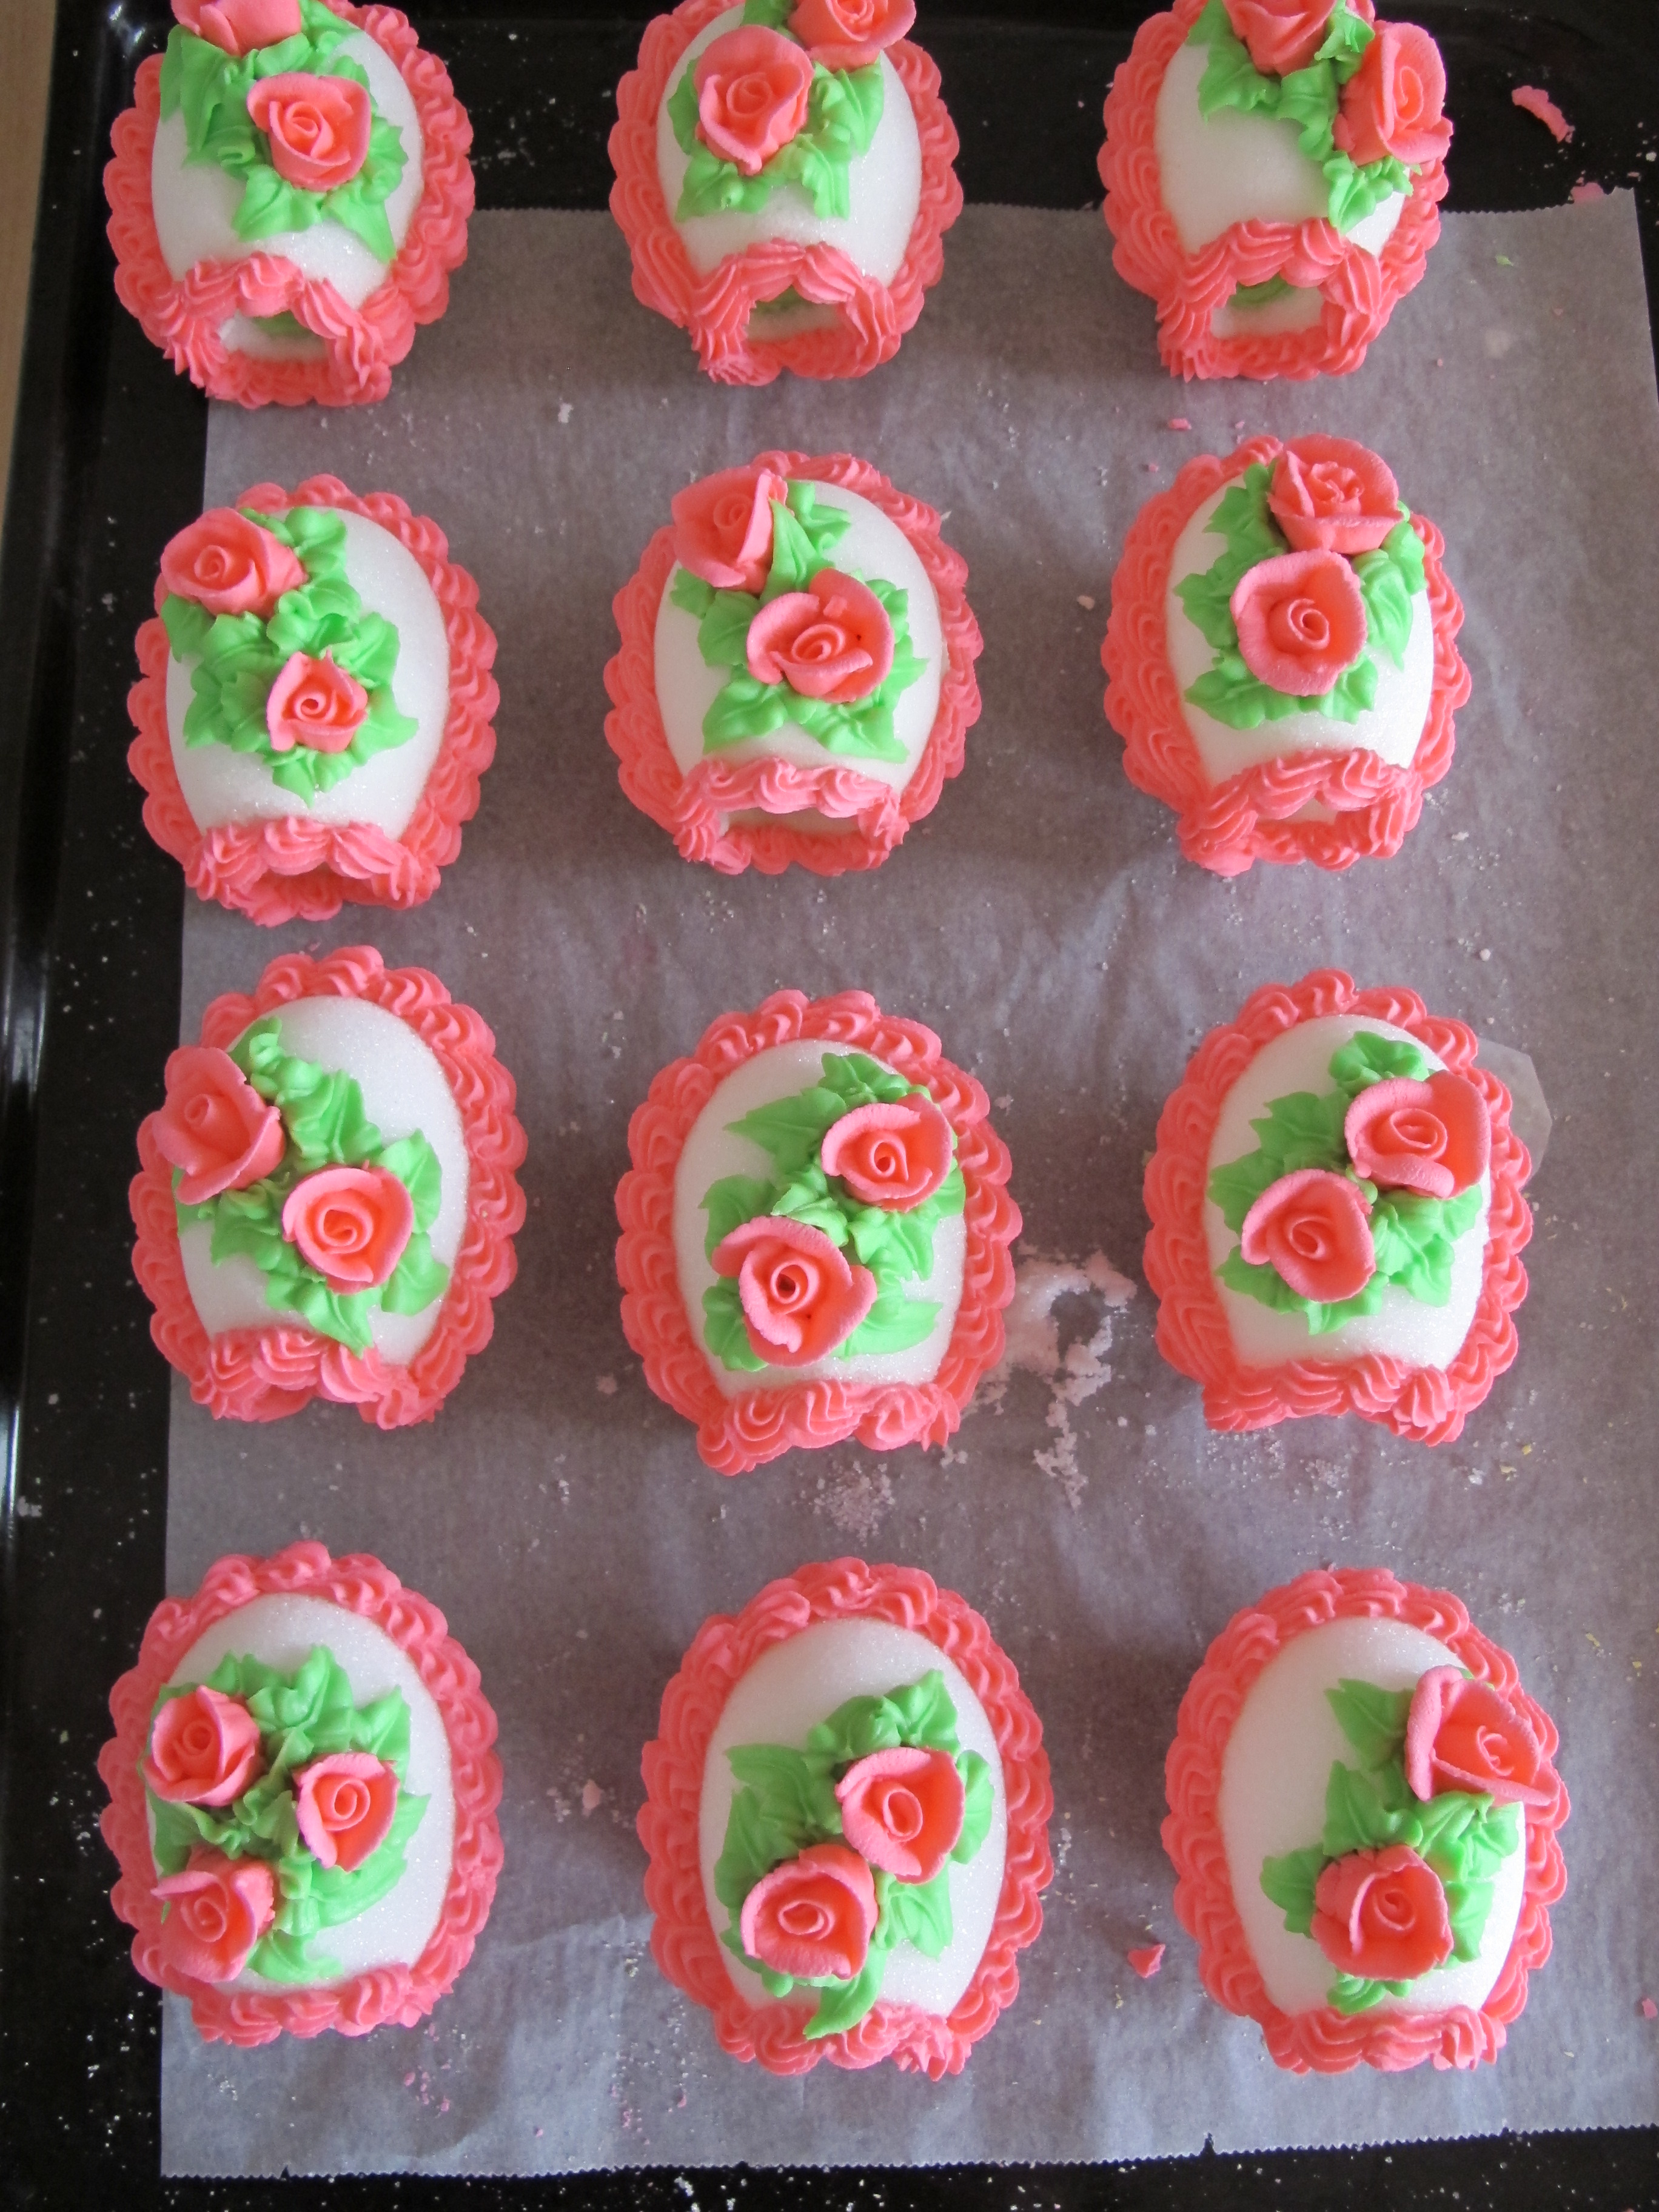
The trays above are the eggs my girls completed this year. They did the molding of the eggs, decorating the interiors, putting the halves together, and adding the flowers and leaves. My favorites were the over-the-top egg that my 3 1/2 year-old decorated with flowers, rabbits, chicks, and eggs all on the top, and the egg that my 6 year-old made for her best friend that has two little chickens sitting inside together.


You can save these sugar eggs for years. Keep them away from light and moisture, and tuck them into a box each year after Easter, and they will last for decades. The colors will inevitably fade, and the sugar will eventually yellow, but every year that box is opened, the person you gave it to will be reminded of you, or you will recall the fun you had making a particular egg. The egg with the matching chicks is definitely going to my daughter’s best friend, but I will do everything in my power to keep a hold of that over-the-top creation my youngest daughter made. Every time I hold it in my hand I will recall the time we made it together, the fun we had, and the love I have for my mother who taught me how to do such a wonderful thing to share with others.
Happy Easter!


Thanks for sharing Maia! Coming from India Easter was not a festive season but my dad used to buy us Easter eggs made of royal icing (now I think it was royal) filled with candies. Brings back memories!
How lovely that this post brought back nice memories for you! Thanks for taking the time to share that.
Maia, I love it when you do the details of family tradition. I love the Swedish items too. Thanks so much for putting Mom’s eggs in such a beautiful light. Really nicely done.
I do like your “skinned” rabbits too. And your little birds/chicks. They look great.
Thanks Marla. I think next year I will try to do rabbits differently. Maybe a lighter pink would make them look less like skinned rabbits. I was much happier with the chicks, and will definitely make some carrots next year.
I would maybe think of making your bunnies white instead of pink for the bodies. You could then put a tiny touch of pink in their ears or put some black spots on the white. But I think if you stick with pink, they will still look like skinned bunnies. Just a suggestion.
The carrots look like they wouldn’t be hard to do at all. Just time consuming.
Absolutely freakin’ adorable! And you know how much I like sugar…
HI Marla, I am a 62 yr old grandma, who learned how to make these eggs from an ex-mother-in-law. I haven’t made them for several years now, and I wanted to thank you for letting me know where these originated, Sweden! I couldn’t find out any information on these wonderful creations. This was a sort of therapy for me, I love creating things like this. I am having trouble though, finding suitable molds to make these this year. Please contact me if you have any suggestions, it would be greatly appreciated!!
Thanks
Denise Poleno